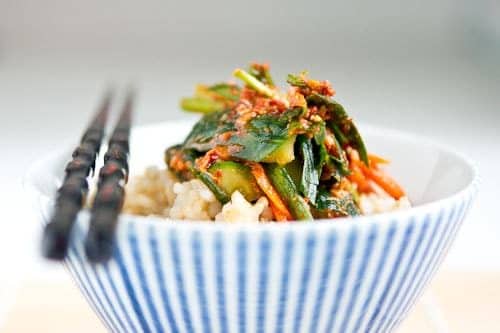
Like most Asian culinary undertakings, making kimchi is much more an art than a science. Families pass the recipe down verbally, and it evolves organically as families move from one region to another, changing based on trends, climate, and local ingredients.
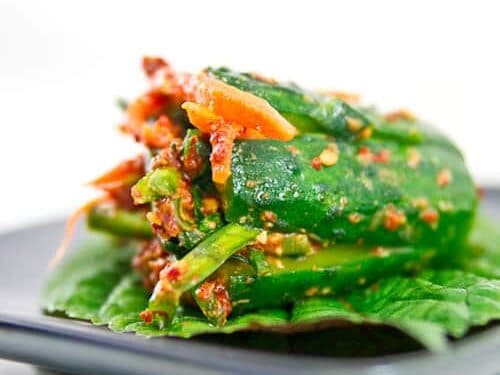
As with any art, inspiration plays a big role in making kimchi, and in this case my inspiration came from a cooking demo that Maangchi put on at the Asian Feastival a few weekends ago. She made Oisobagi Kimchi (오이 소박이), or stuffed cucumber kimchi which is one of my personal favorites. My eyes always light up when I see this come out amongst the banchan at Korean restaurants, but it never occurred to me just how simple it is to make at home. For a mere pittance of effort, you're handsomely rewarded with crunchy, mildly spicy, and intensely garlicky pickles that look almost as good as they taste.
My theory that kimchi making is an art is further reinforced by the fact that no one ever measures the ingredients. Ask any Korean halmuni and she'll give you the recipe in vague measures like handfuls and pinches (that's assuming she likes you enough to divulge her secret recipe at all). This is both a good and bad thing as it keeps the "recipe" open for interpretation, but it also makes it difficult for people outside your family to replicate (maybe that's intentional).
That's why I've put together a step-by-step photo tutorial to walk you through the process of making Oisobagi Kimchi. To keep in the artisinal spirit, I've given suggested measures, but feel free to change things around. Try adding other vegetables, or adjust the sweetness, saltiness or spiciness to suit your tastes. Who knows, in a couple batches, you may stumble upon a combo you love, and then you'll have your own family Oisobagi Kimchi recipe to pass down to your kids.
I know some might cry blasphemy, but in my version, I use miso to provide the salt for the pickling. It's not very traditional, but I like the nutty mature flavor and umami that miso imparts to the fresh green cucumber. It makes it taste like it's been fermenting for a lot longer than it actually has.
This recipe first appeared on norecipes.com but due to its age I've moved it here to my personal recipe archive. Check out the full No Recipes Archives for more older recipe or check out some of my favorite recipes.
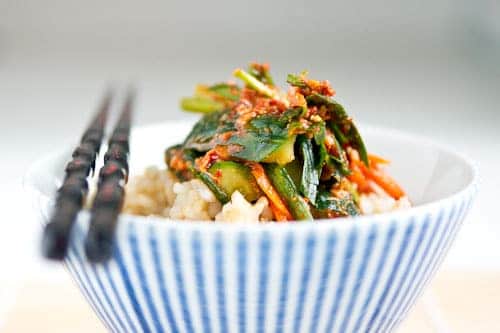
Units
Ingredients
- 10 cucumbers kirby
- handful salt
- 1 carrot julienned
- 1 bunch garlic chives (the flat leaf variety about 2 cups chopped)
- miso ball of (about ¼ cup)
- 3 cloves garlic grated
- handful gochugaru (⅓-1/2 cup)
- handful toasted sesame seeds (about 2 tablespoons)
- 1 tablespoon honey (1-2 tablespoons)
Instructions
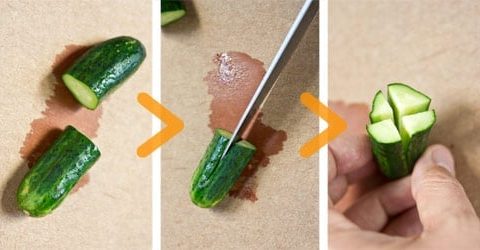
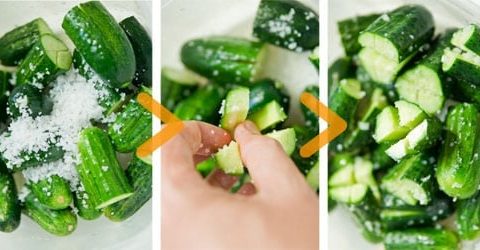
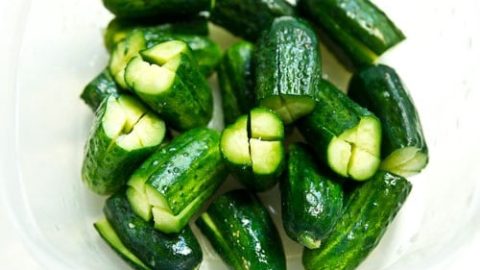
- Cut each of the 10 cucumbers in half, then cut a slit down the middle up to ½" of the end. Rotate the cucumber 90 degrees and cut another slit down the middle up to ½" of the end. If you look at the third photo above, you'll see that the cucumber is cut into quarters lengthwise, but the quarters are still attached at the very end. This makes a pocket in the cucumber for us to stuff.
- Cover the cucumbers in a generous handful salt(I prefer kosher salt for this). The salt helps coax the water out of the cucumbers, making them more crunchy. Don't worry about over-salting as we will be washing off the extra salt later. Make sure you get the salt in between the slits in the cucumber. Set them aside for at least an hour to allow as much water to come out as possible.
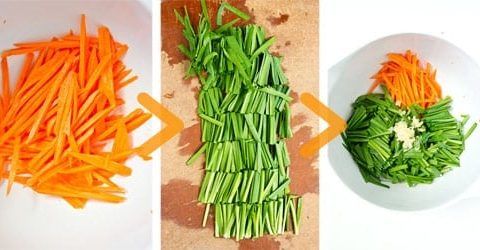
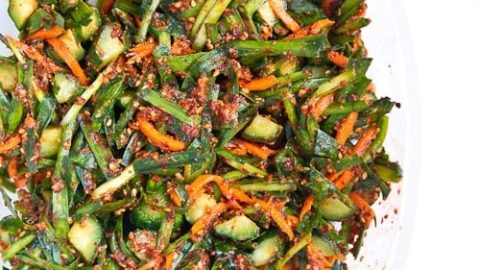
- While the cucumber is resting, shred 1 carrot, chop up 1 bunch garlic chives, then add them to a bowl with 3 cloves garlic, grated.
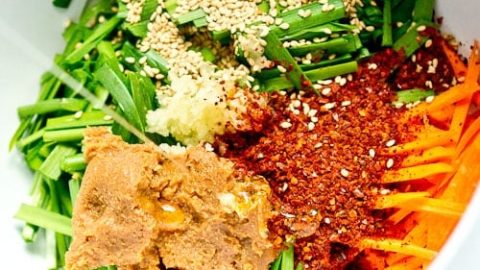
- Add the handful gochugaru, miso, handful toasted sesame seeds and 1 tablespoon honey.
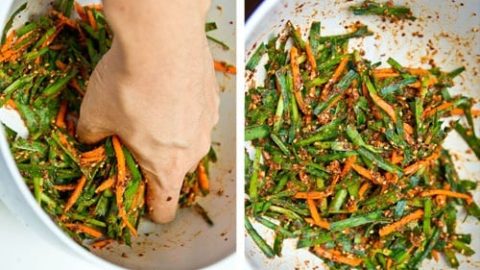
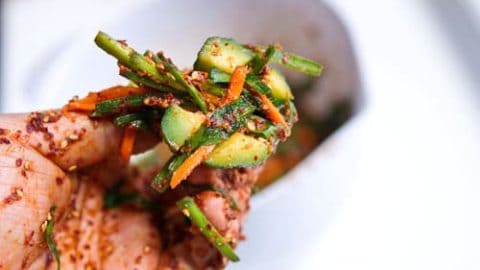
- Use your clean hands to mash all the ingredients together.
- When the cucumbers have gone from an opaque pale green to a translucent green with water collecting at the bottom of the bowl, they are ready. Rinse them thoroughly in cold water and squeeze as much water out of each cucumber as you can.
- Stuff a few tablespoons of the garlic chive mixture into the pocket of each cucumber.
- You can eat the oisobagi kimchi after a day, but it's best if you let it pickle in the fridge for at least one week.






Comments
No Comments